All Charms and Where to Find Them
Published 2026-09-258 min read
Every Charm in Control: Resonant and where to find it — preorder and deluxe bonuses, the Artist's drop, side story rewards and the route to the Practice Knot.
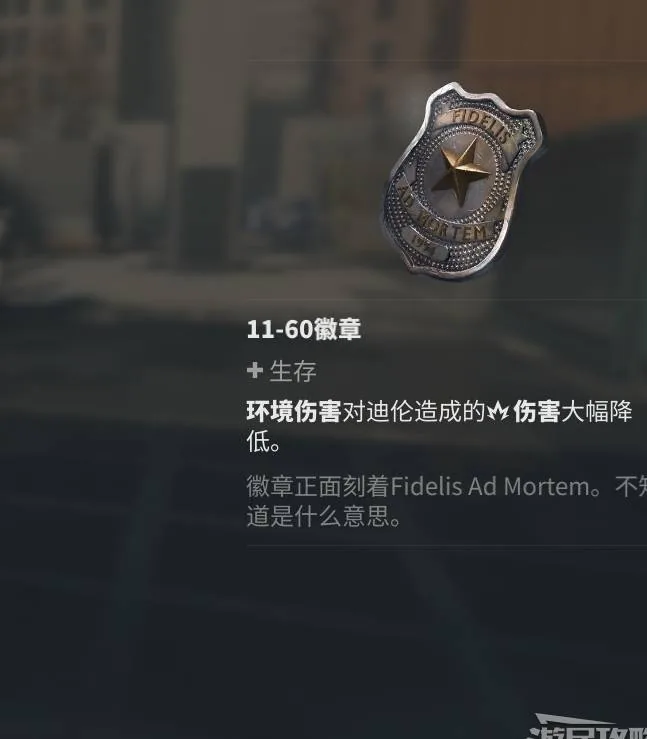
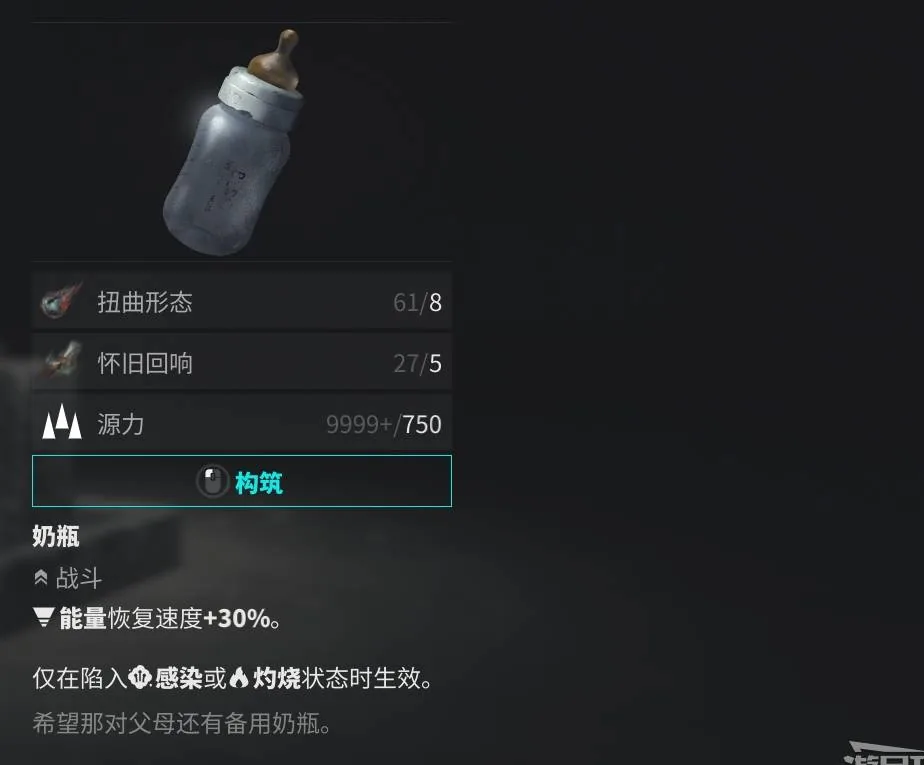
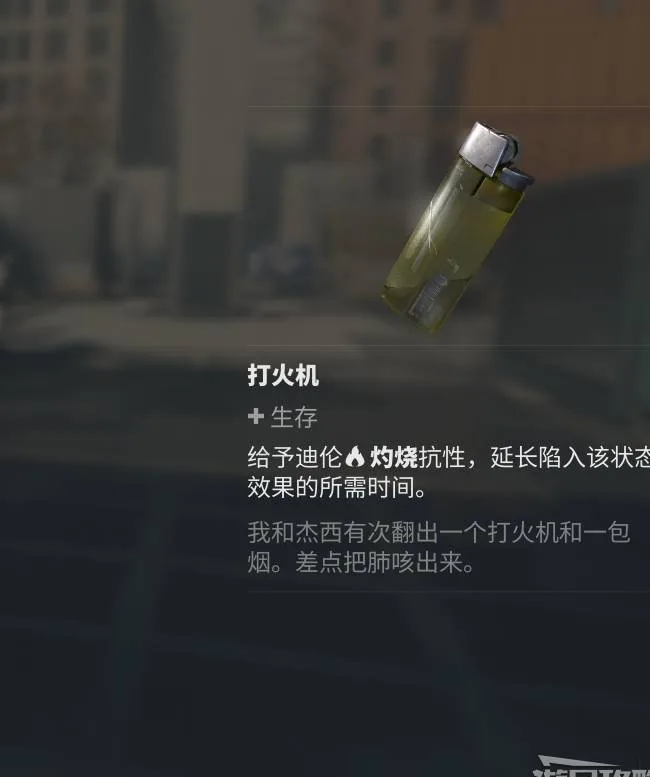
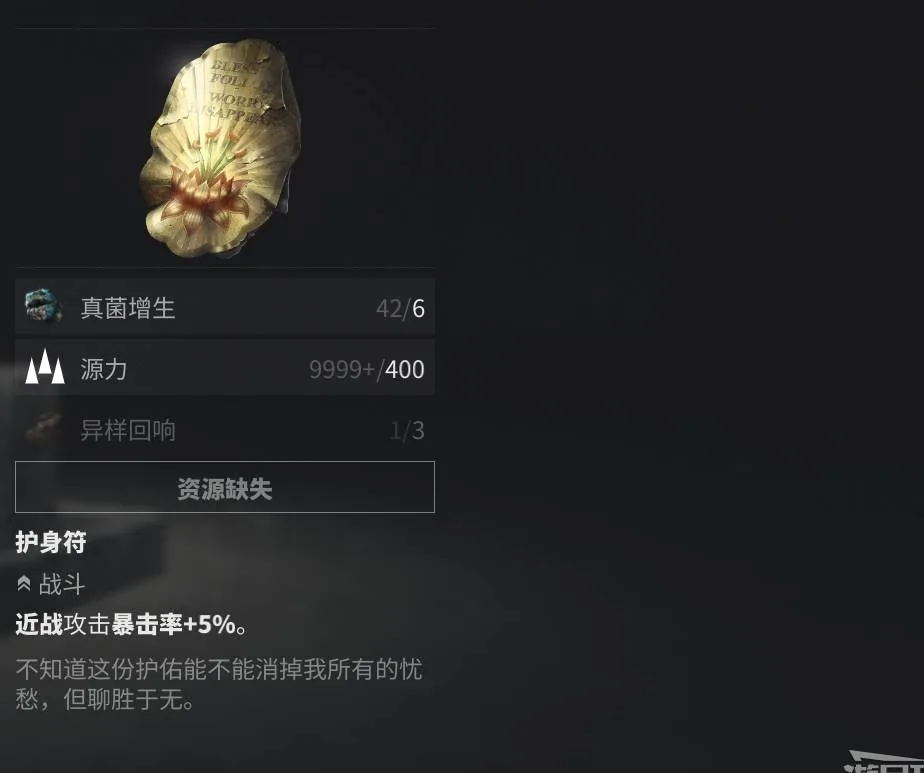
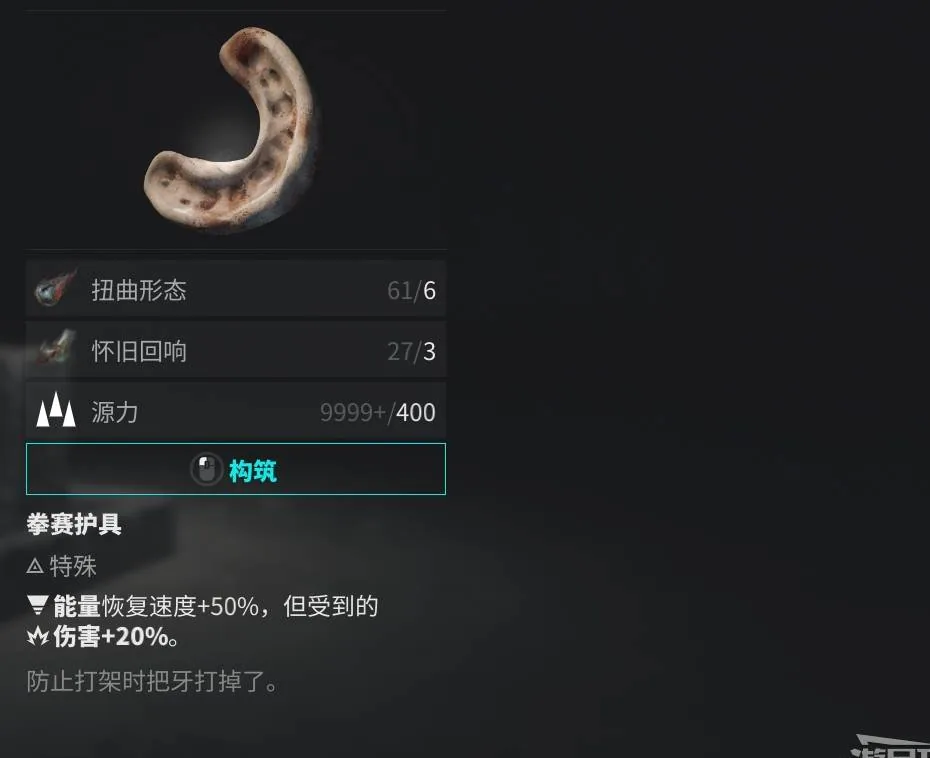
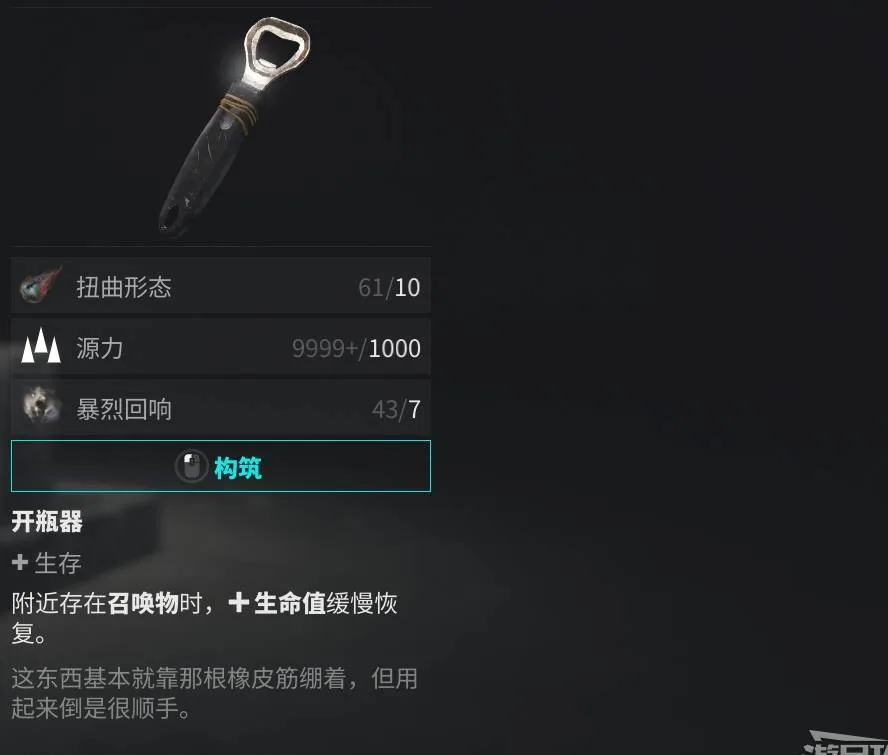
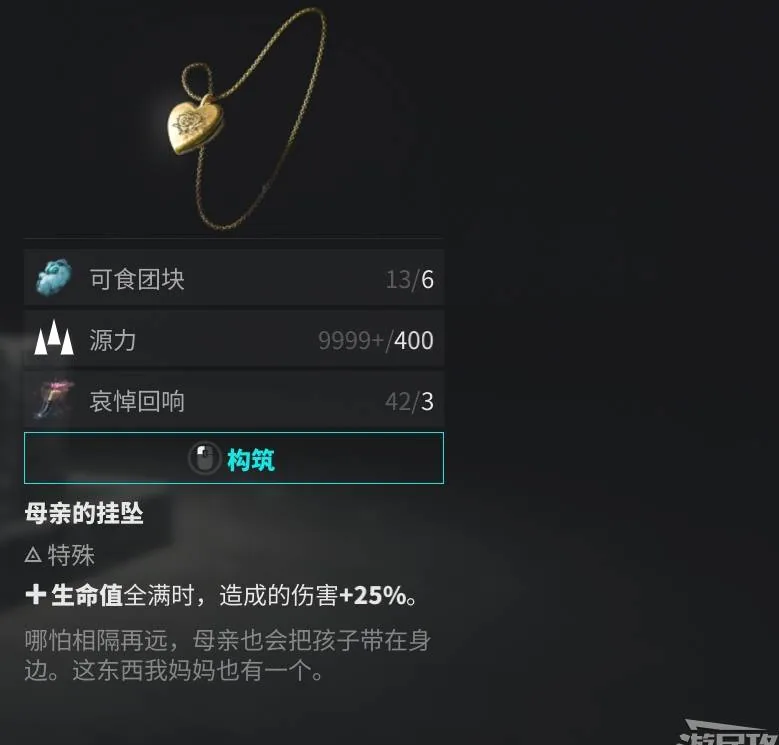
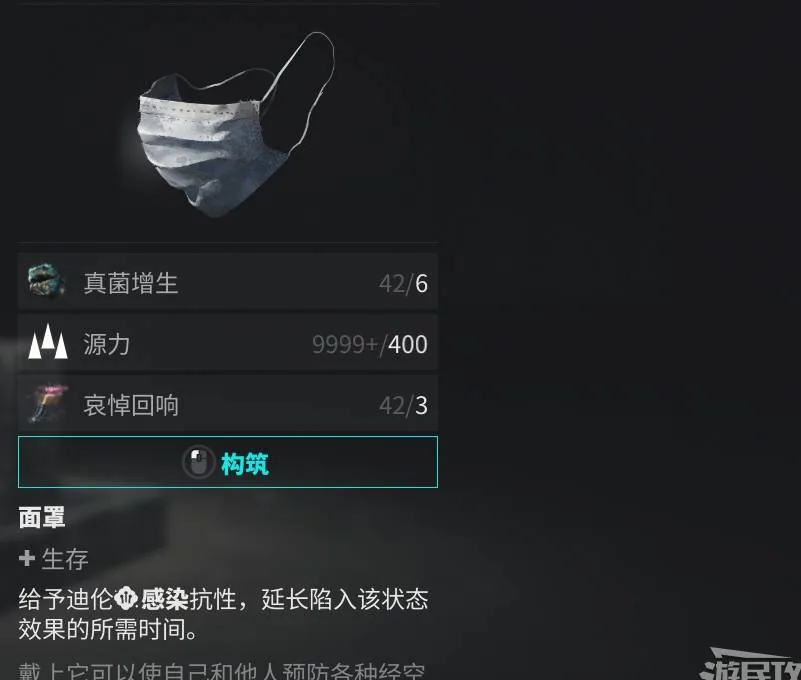
Charms are Control: Resonant's accessories: equipment items that grant special effects while worn. Several of them are missable or tied to edition bonuses and story choices, so this guide tracks every Charm with a confirmed source, plus the full walkthrough for the quest that drops one of the story rewards.
Confirmed Charms
| # | Charm | How to Get |
|---|---|---|
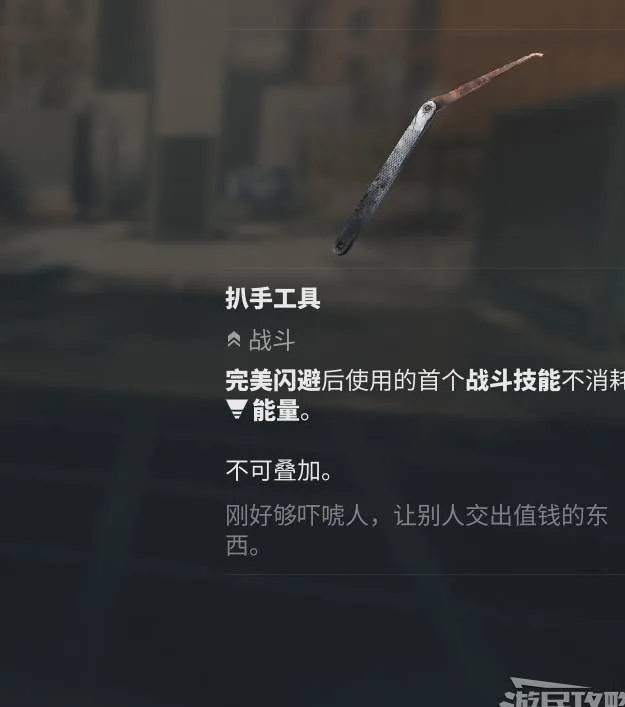
| 1 | Pickpocket's Tools | Preorder bonus — already in your inventory, equip it right away |
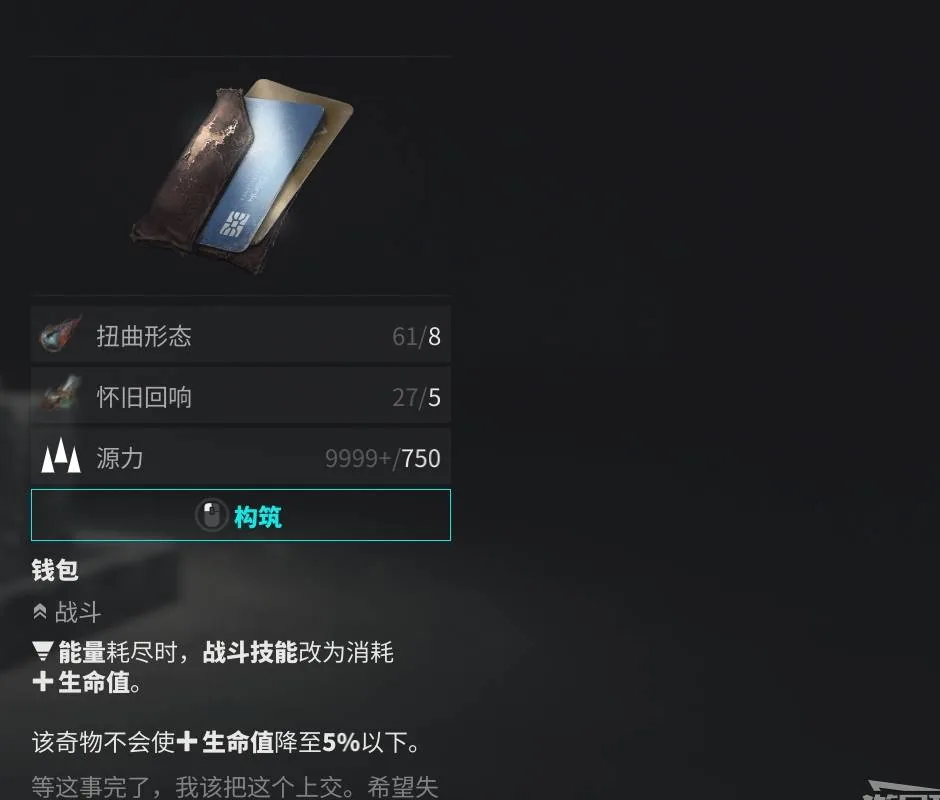
| 2 | Wallet | Deluxe edition bonus — cannot be equipped until crafting unlocks at the Dream Chasm, then craft it from gathered materials |
| 3 | (boss drop) | Defeat the Artist, the boss that closes the game's opening |
| 4 | (not yet documented) | Complete the side story "Ring Prison Service Request" |
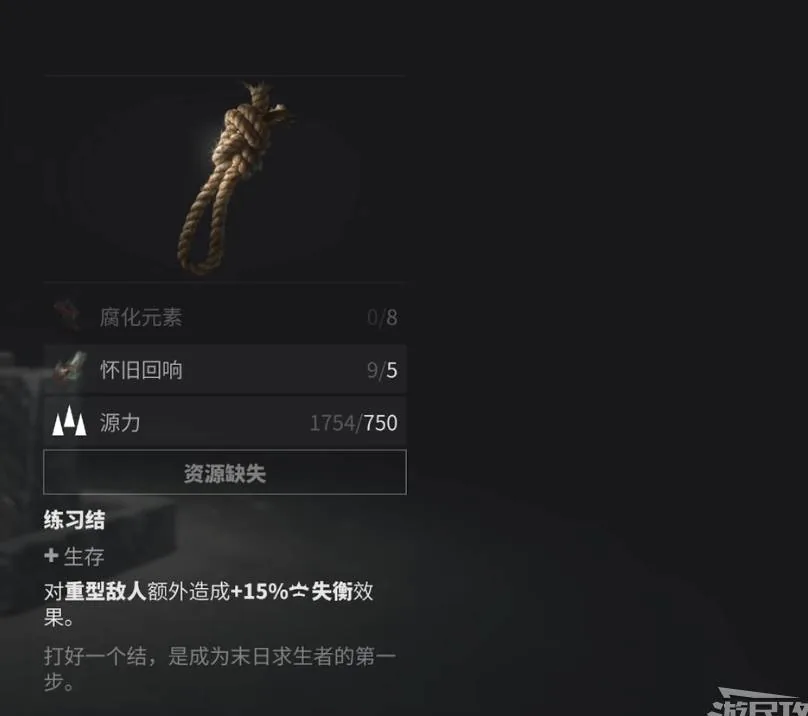
| 5 | Practice Knot | Finish "Through the Threshold" and trust Wilson — walkthrough below |
| 6 | (not yet documented) | Complete the Resonant quest "Central District Resonant" — defeat the Deserter boss beneath the Anomaly Factory |
| 7–12 | (not yet documented) | To be confirmed |
The source guide shipped in progress — six entries beyond the confirmed ones await documentation, and this page updates as they land. Note the Wallet's quirk: unlike the preorder Charm, it cannot be equipped straight from the inventory.
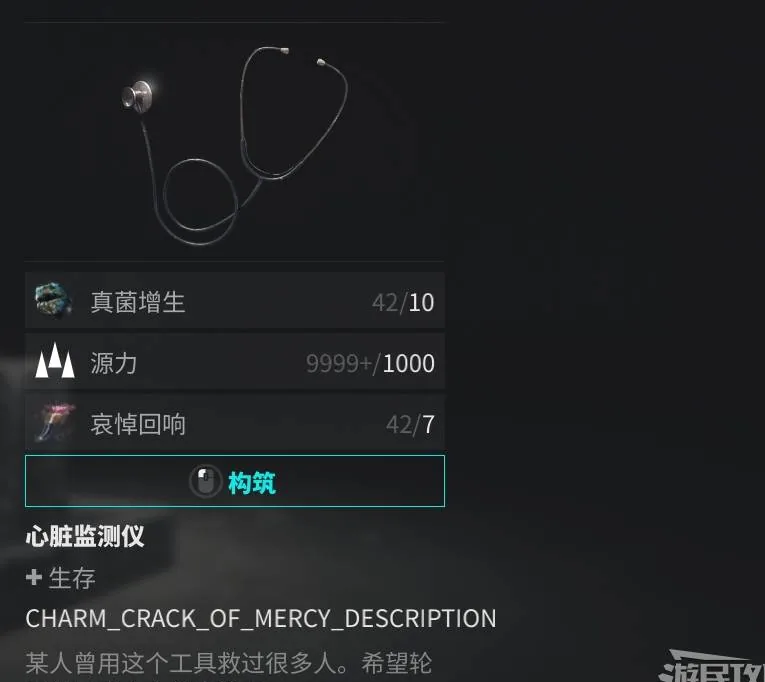
Through the Threshold — Charm Walkthrough
The Practice Knot comes from the same story that awards the Sensory Restraint Hood outfit. The short version is below; the outfit page carries the same route with extra detail on the clothing reward.
Starting Out
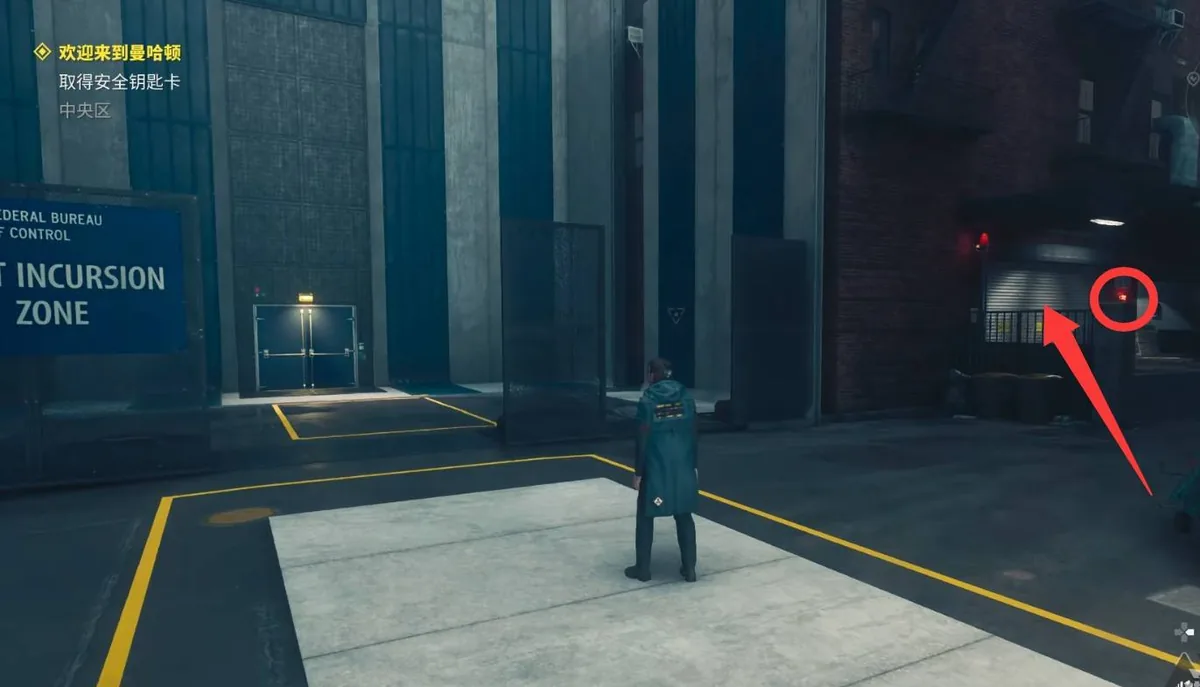
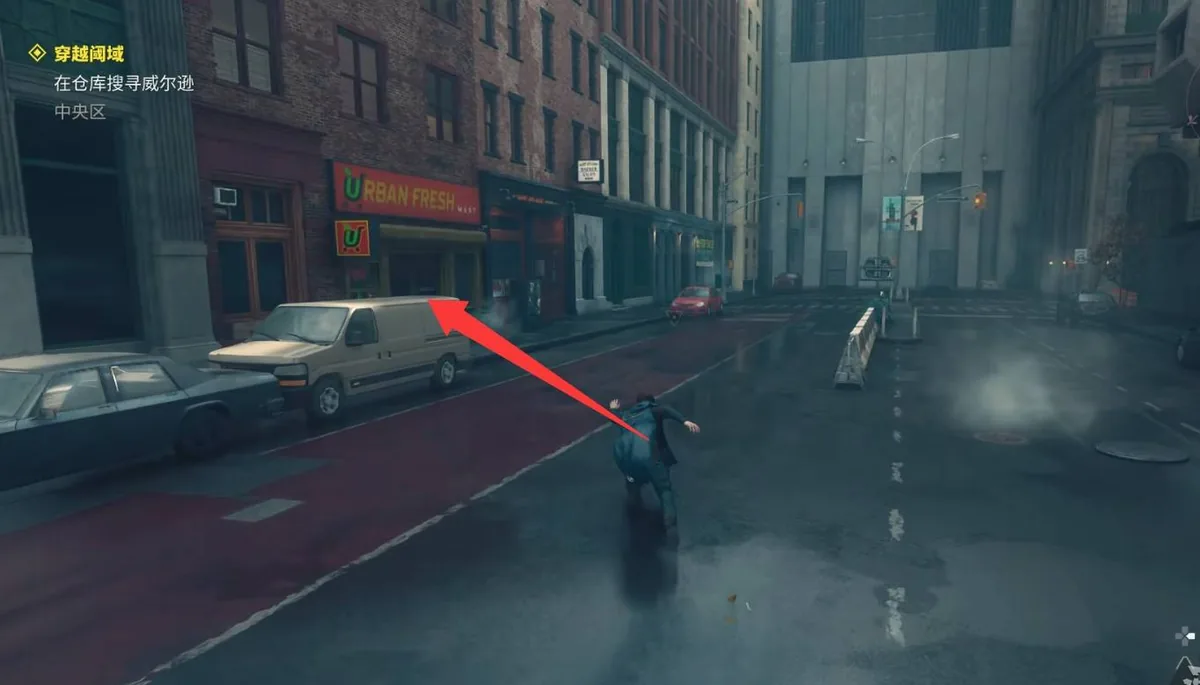
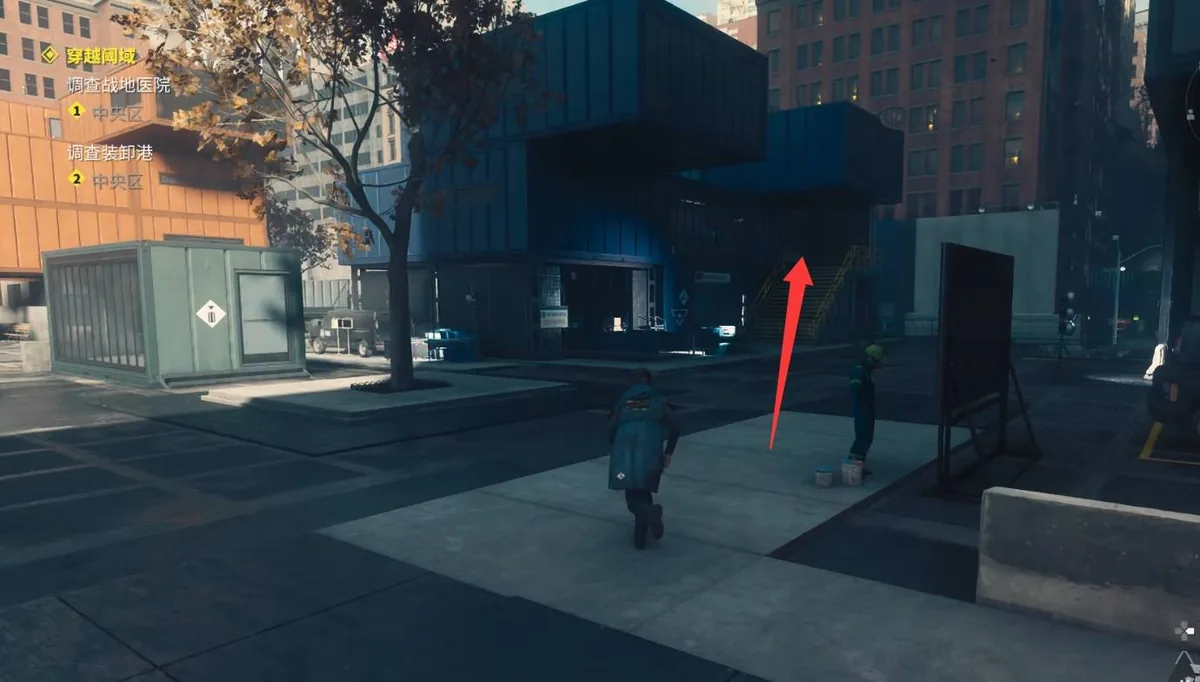
West of the Central District Field Office, beside the door toward the Western Incursion Zone, destroy the breaker to lift the roller shutter. Examine the headless corpse inside to start Through the Threshold.
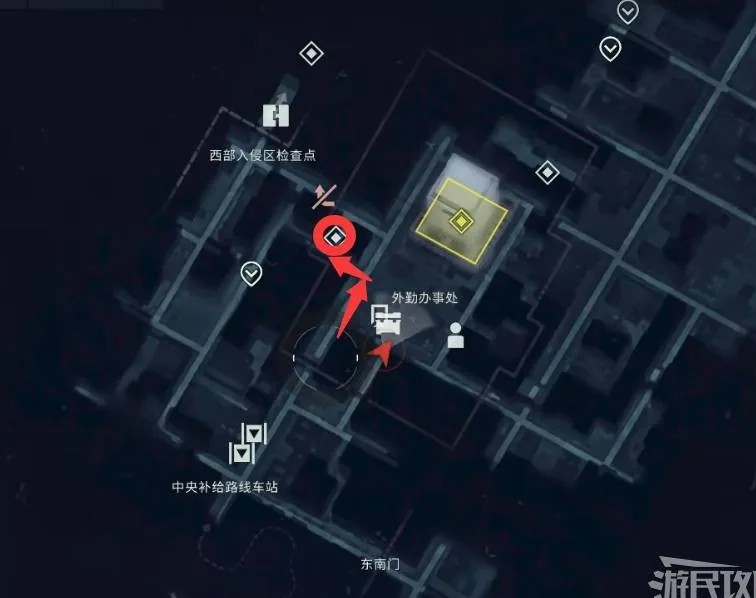
The Investigation
- Grab the Health Upgrade Point from the nearby convenience store while you are here.
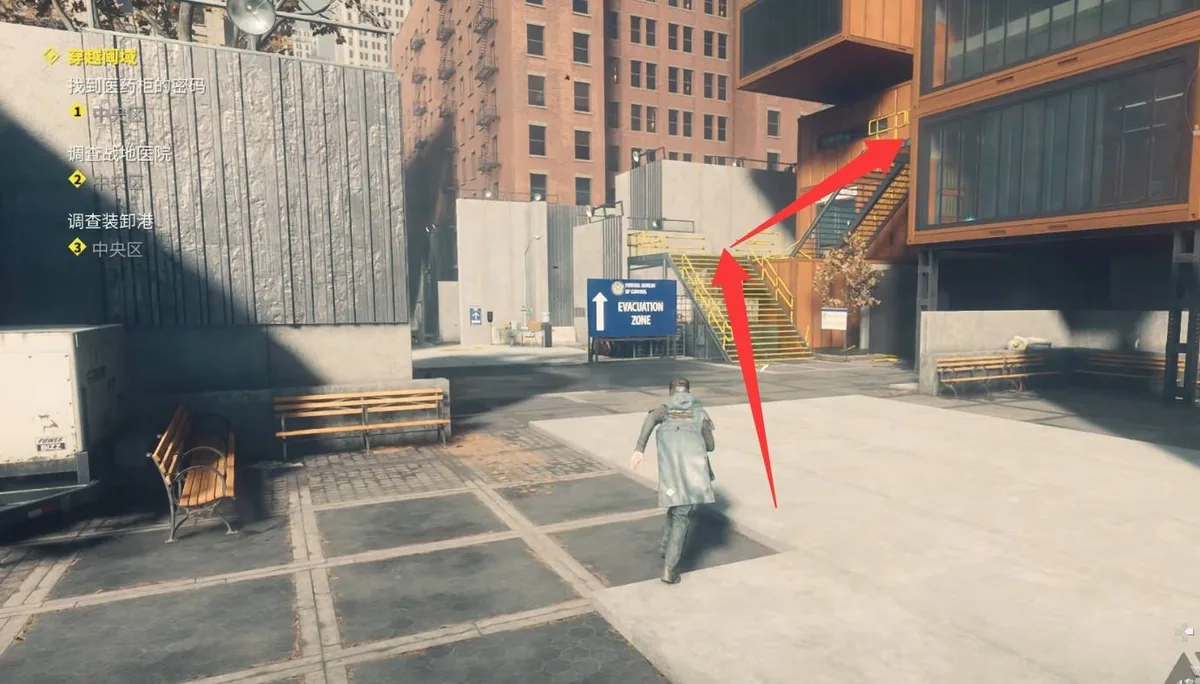
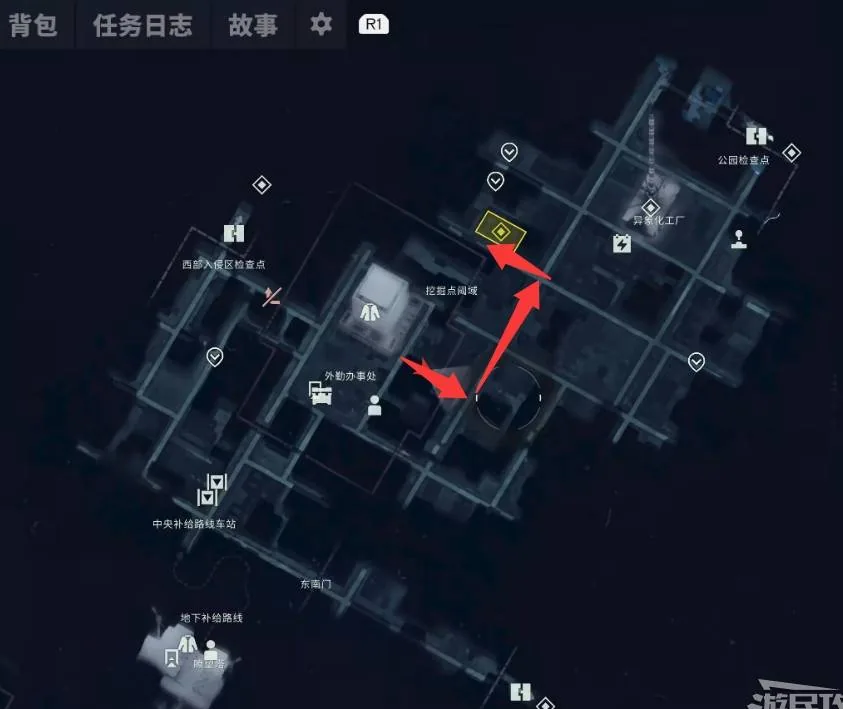
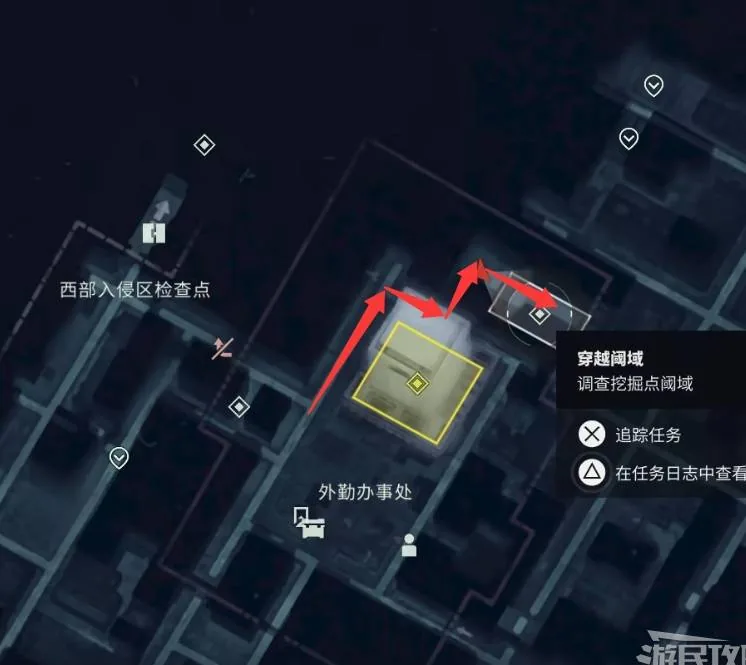
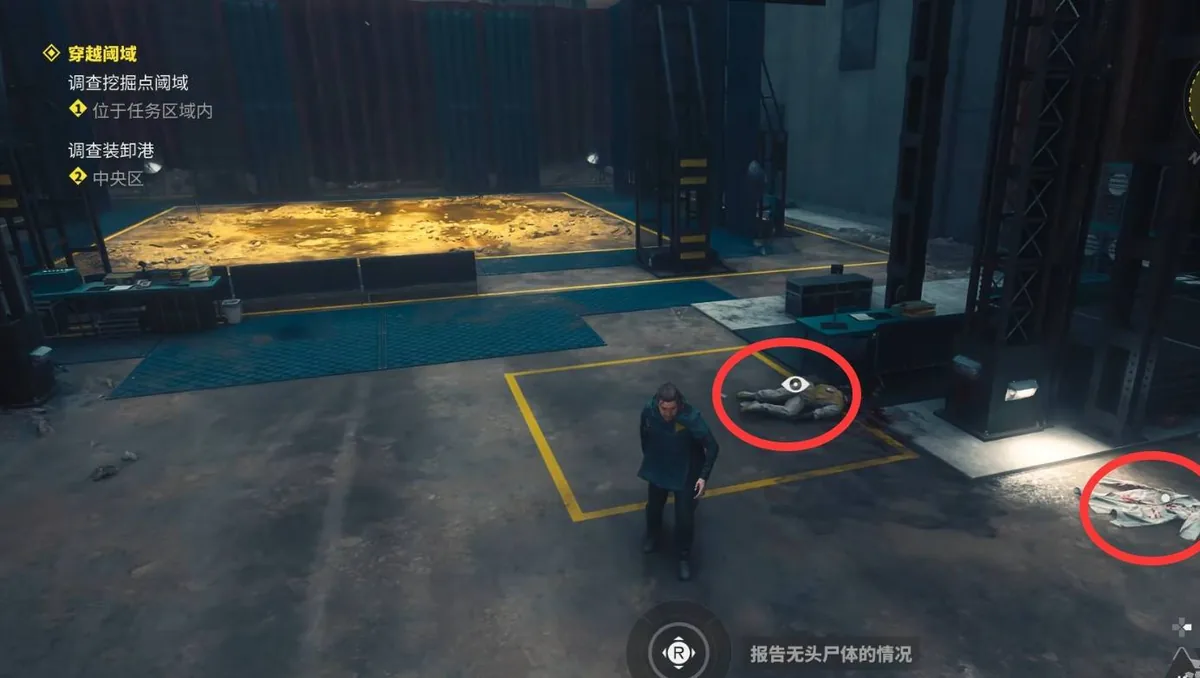
- At the excavation-site threshold behind the Field Office, examine the second headless corpse for the Threshold Expedition keycard; clothes, documents, and a recording sit nearby.
- Climb up through the opening and loot more documents and a recording behind the door.
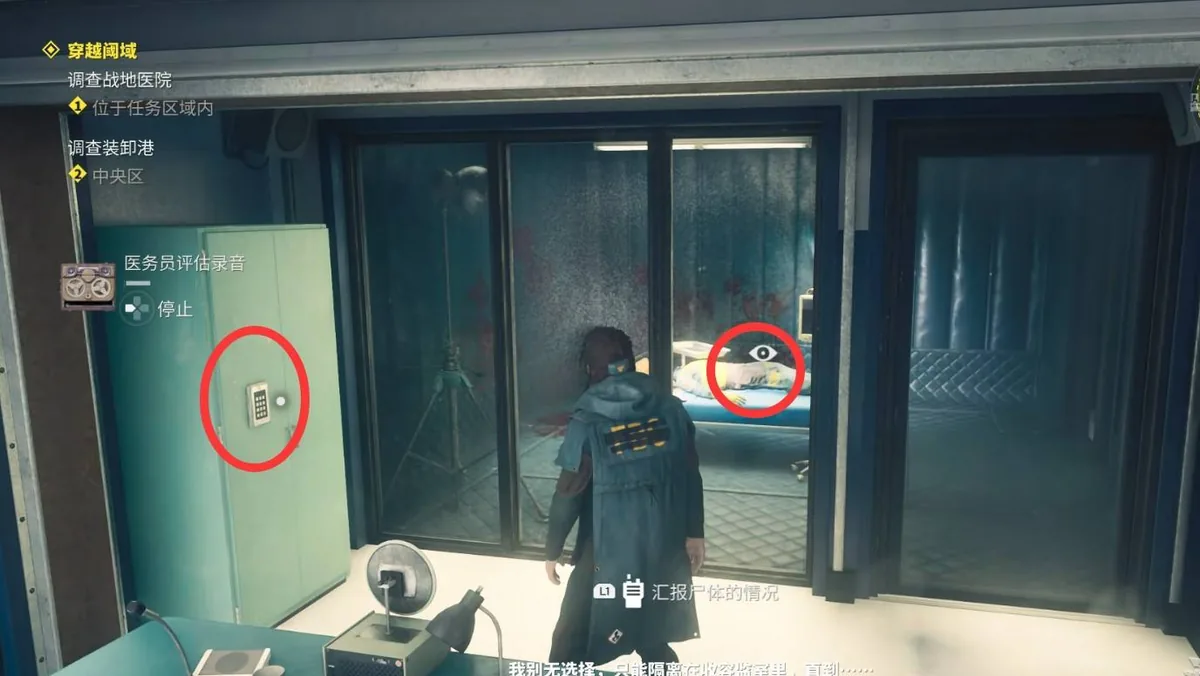
- In the Field Office's field hospital, examine the corpse and recording. The medicine cabinet needs a code.
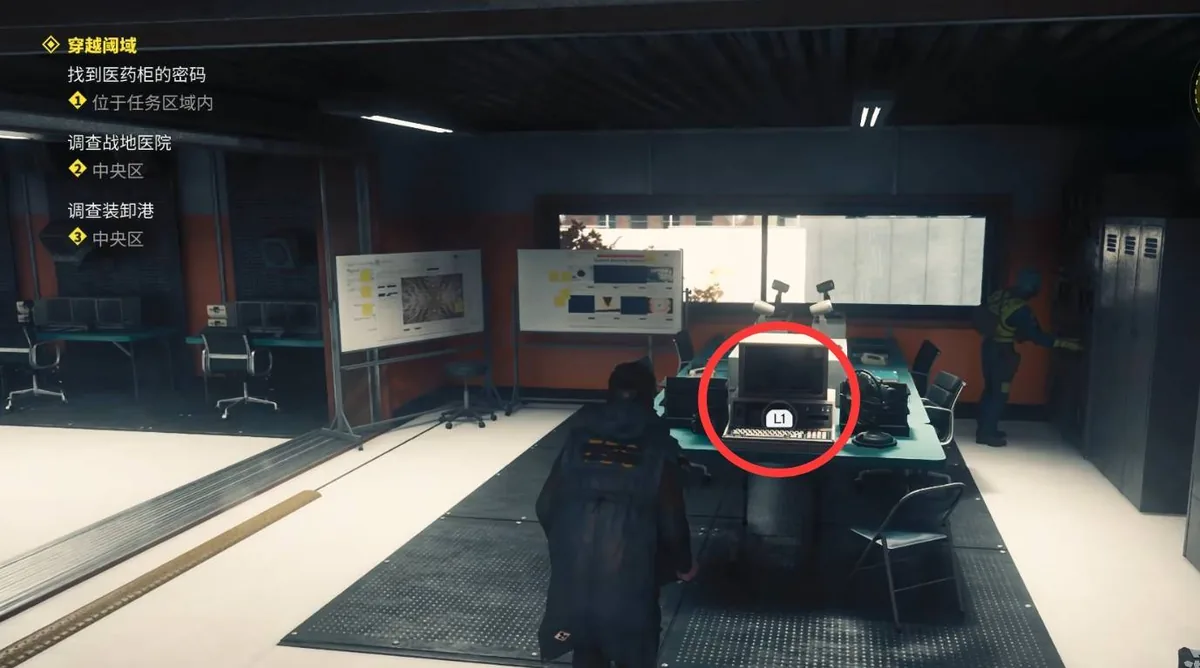
- Find the code on the security station's computer upstairs — paging through it registers automatically — then open the cabinet for the Quarantine List.
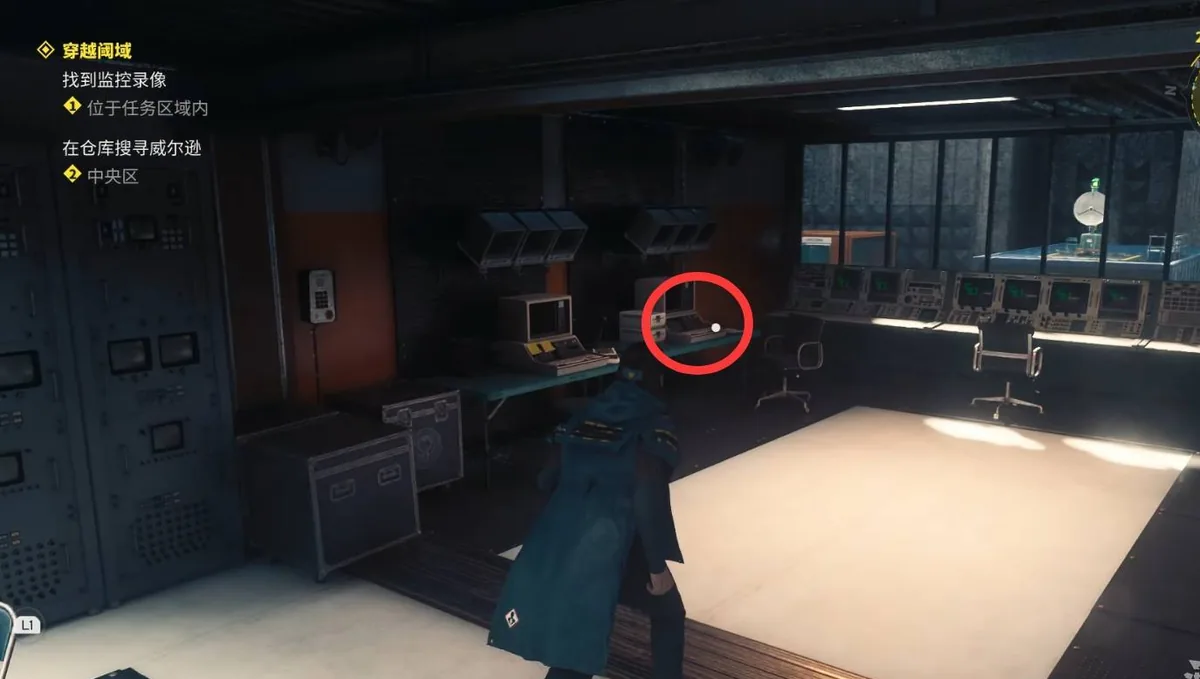
- Examine the surveillance gear at the original corpse, then review the footage on the second computer upstairs.
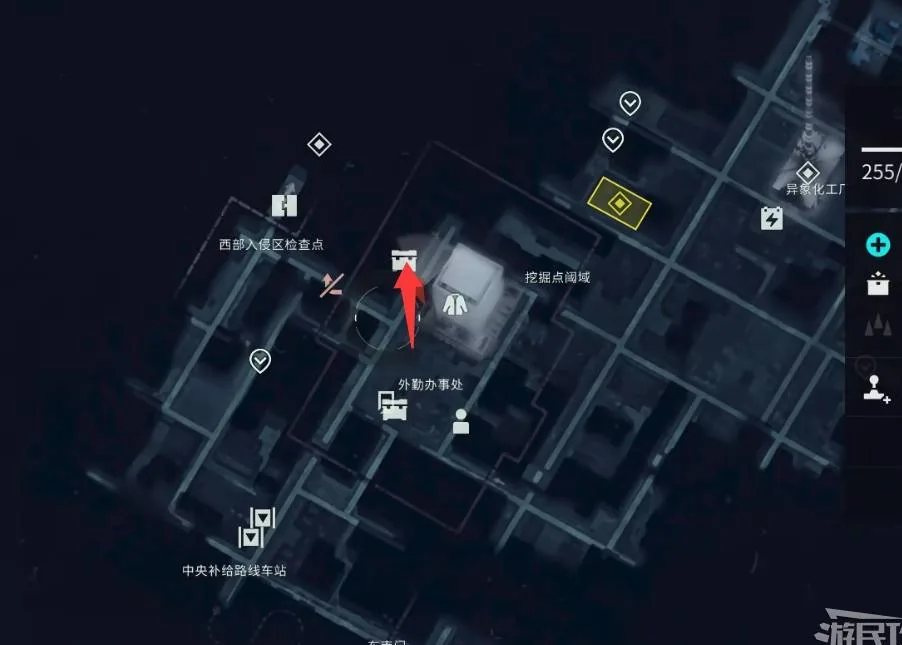
The Warehouse and the Choice
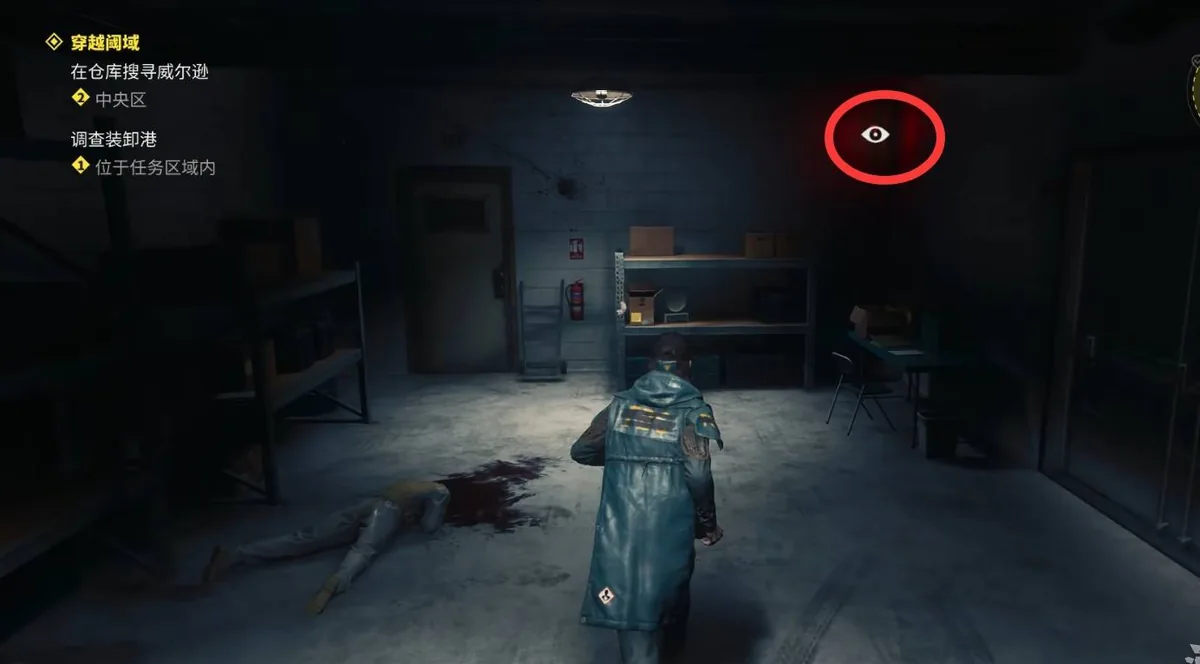
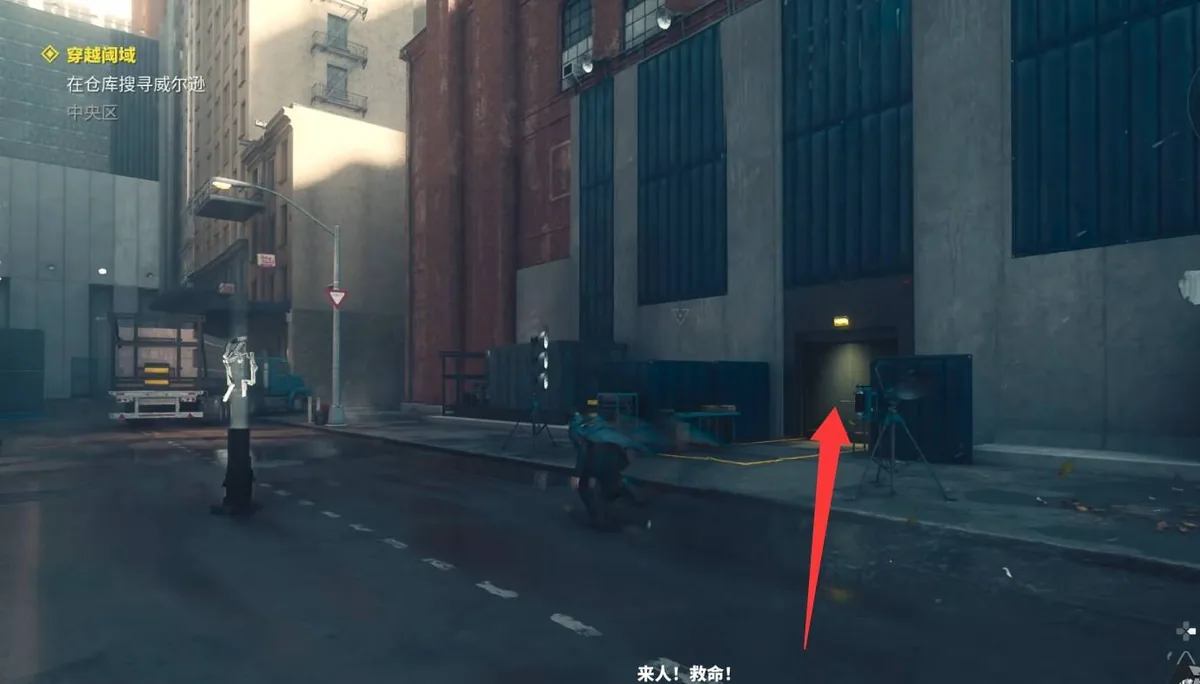
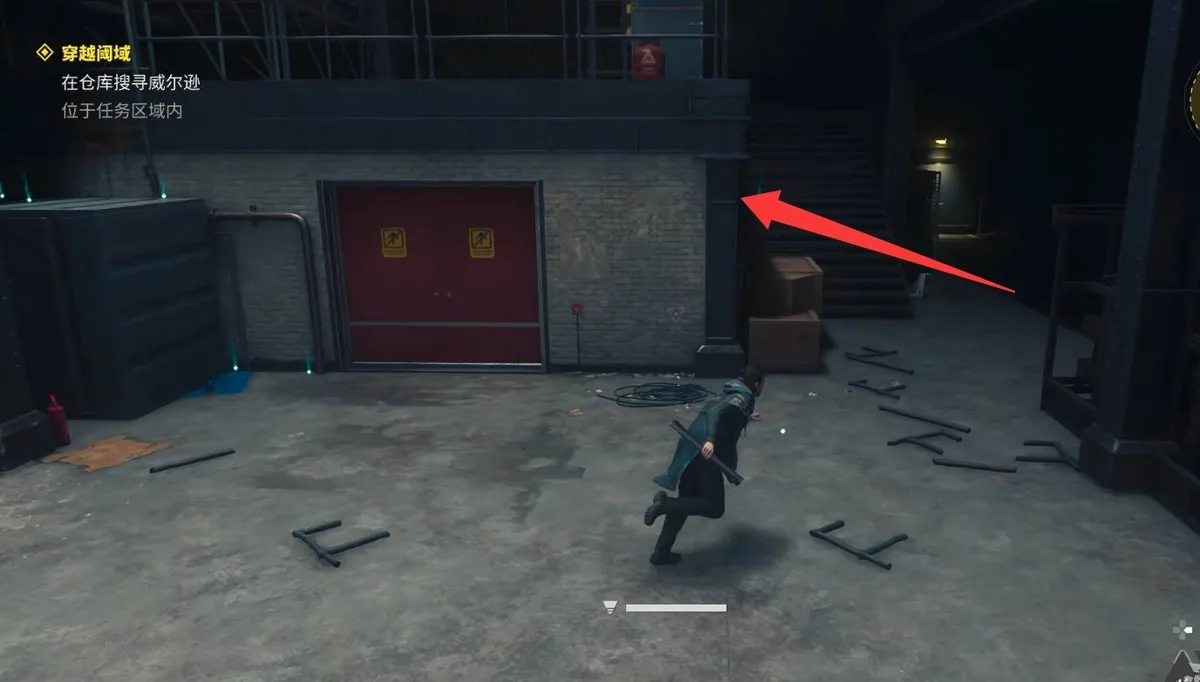
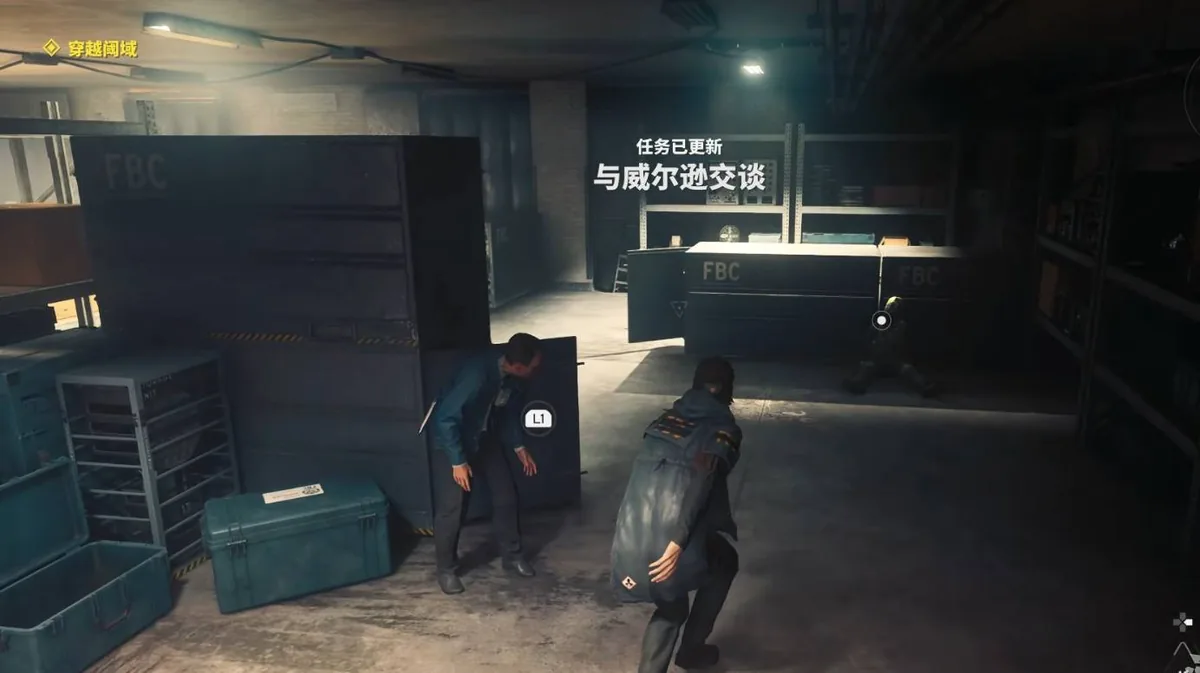
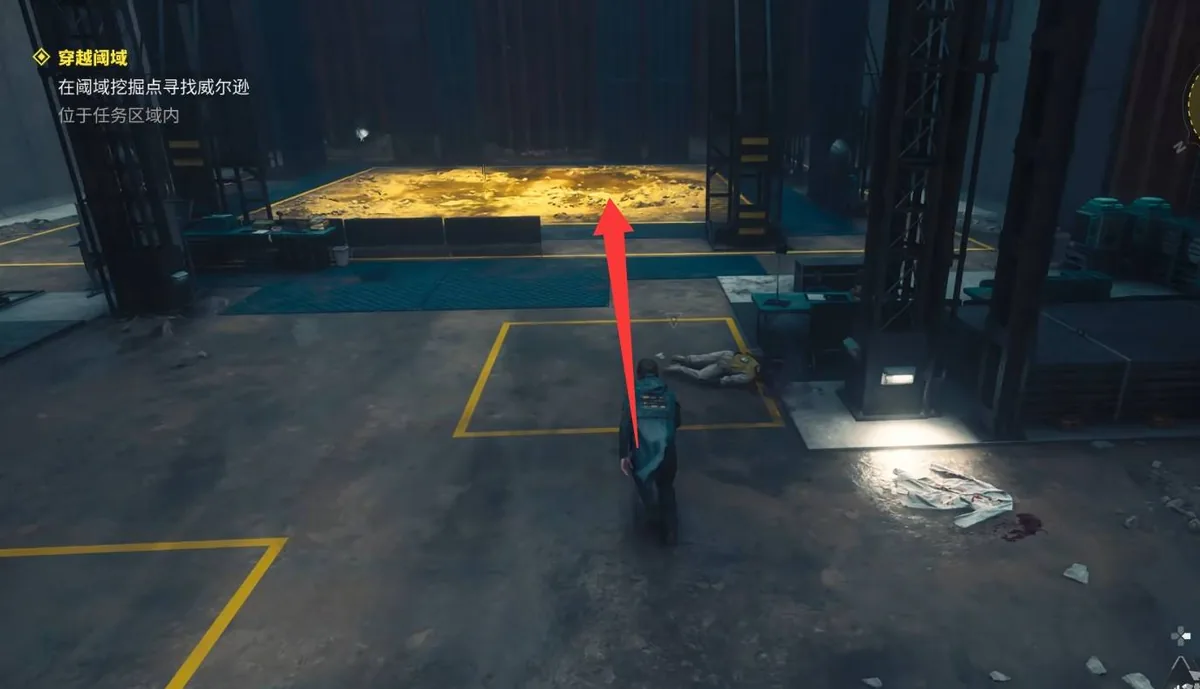
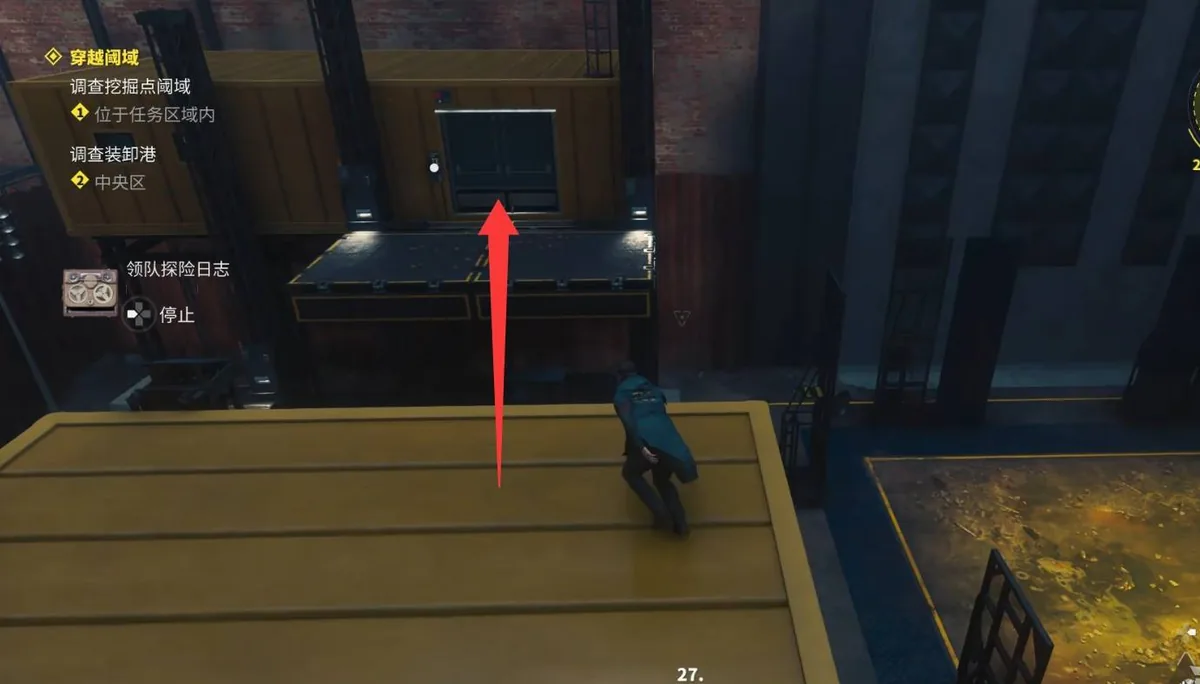
Exit through the Field Office's east door into eastern Central District and head to the warehouse. Clear the enemies, leave the stubborn red door alone, and take the door behind the staircase — Wilson is holed up there with a body. When he pleads his case, choose "Calm down, I trust you" and then "I'll take him with me". Trusting him is the only branch where he lives; forcing the capture kills the wounded man instantly and makes Wilson vanish.
Collecting the Practice Knot
Escort the creature to the excavation-site threshold and push it into the yellow zone. The clear rewards the Practice Knot charm plus the Sensory Restraint Hood outfit — and with a head-slot item now owned, equipping one piece of every clothing category in the wardrobe instantly banks the Casual Outing trophy. Bet against Wilson and the yellow zone becomes his grave.